

iQ-SOLUTIONS

PACS with iQ!
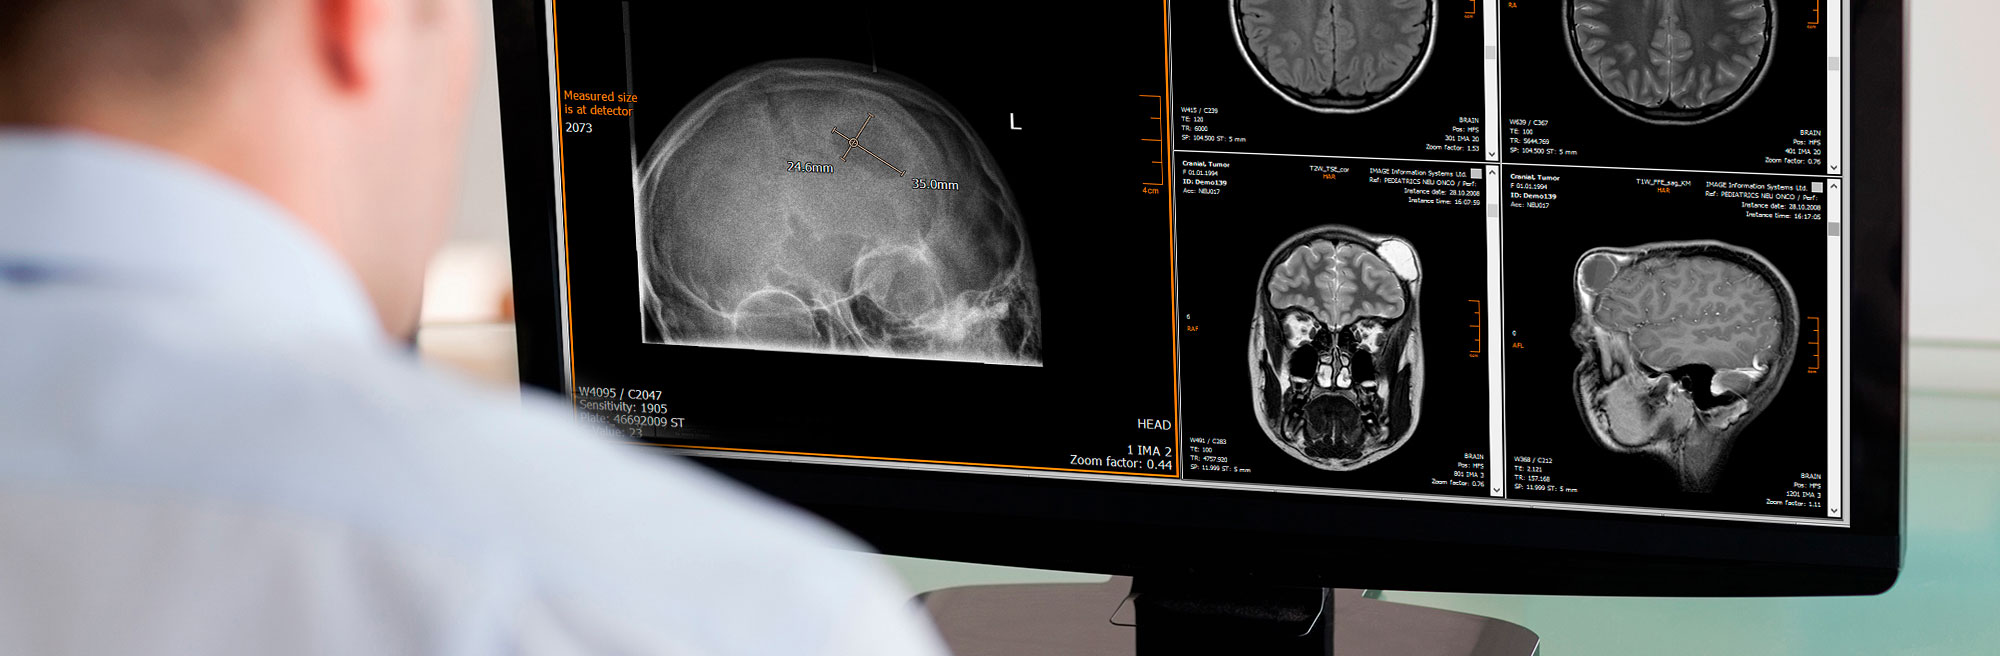
iQ-SYSTEM PACS is our answer to your individual PACS needs. This software suite includes a solution for healthcare institutions of any size ranging from full-featured radiology workstations, powerful PACS and helpful tools for a smooth medical imaging workflow.

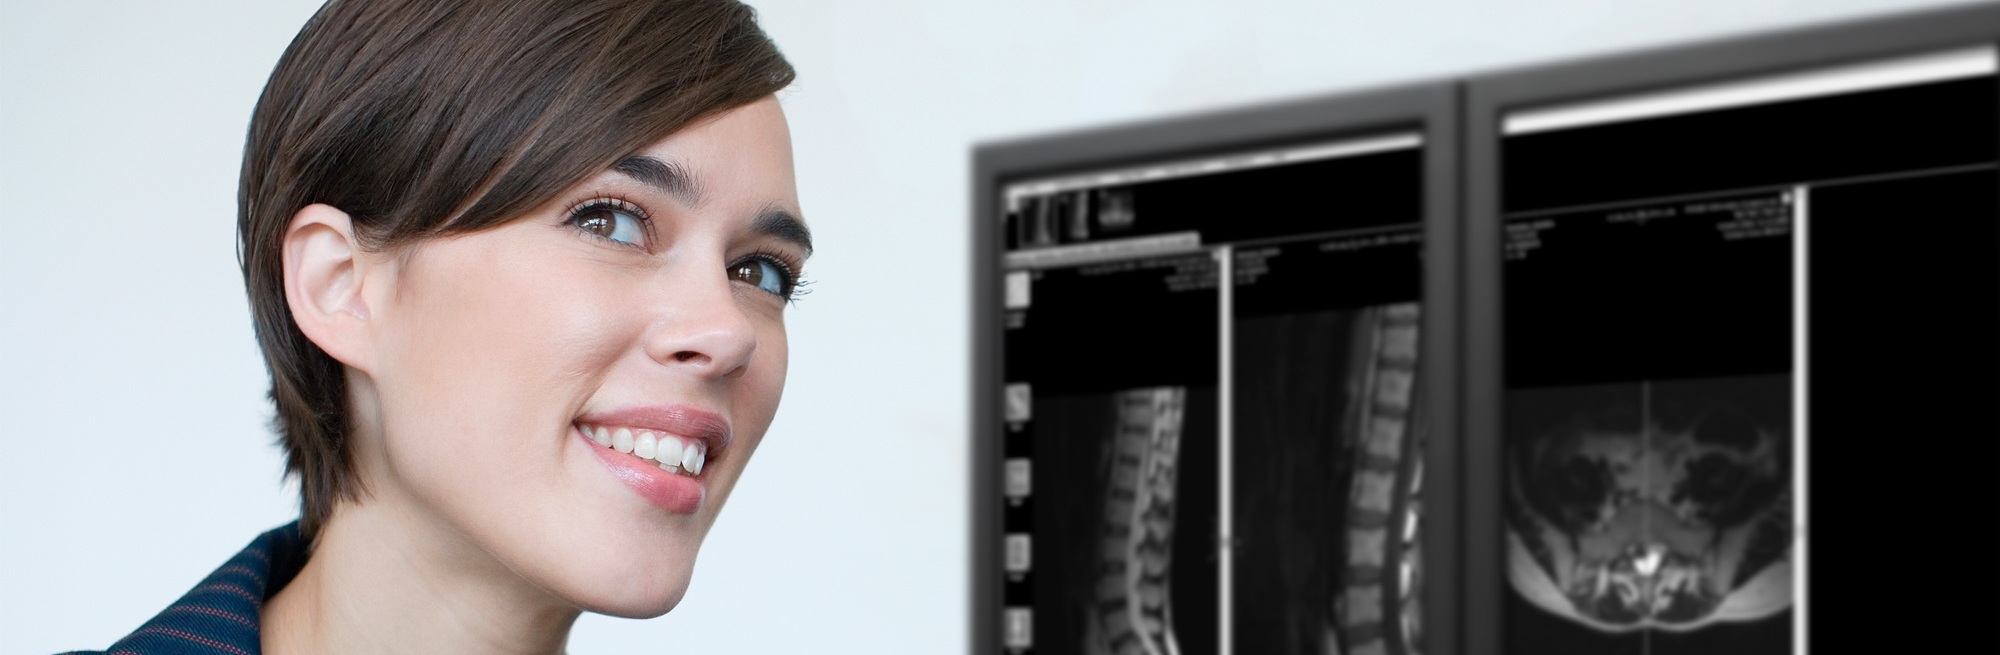
Teleradiology
In times of facing radiologist shortages all over the world, teleradiology is increasingly gaining importance as radiological images need to be shared with other radiologists and physicians at different locations. Which technologies are available for this purpose? Find it out here.

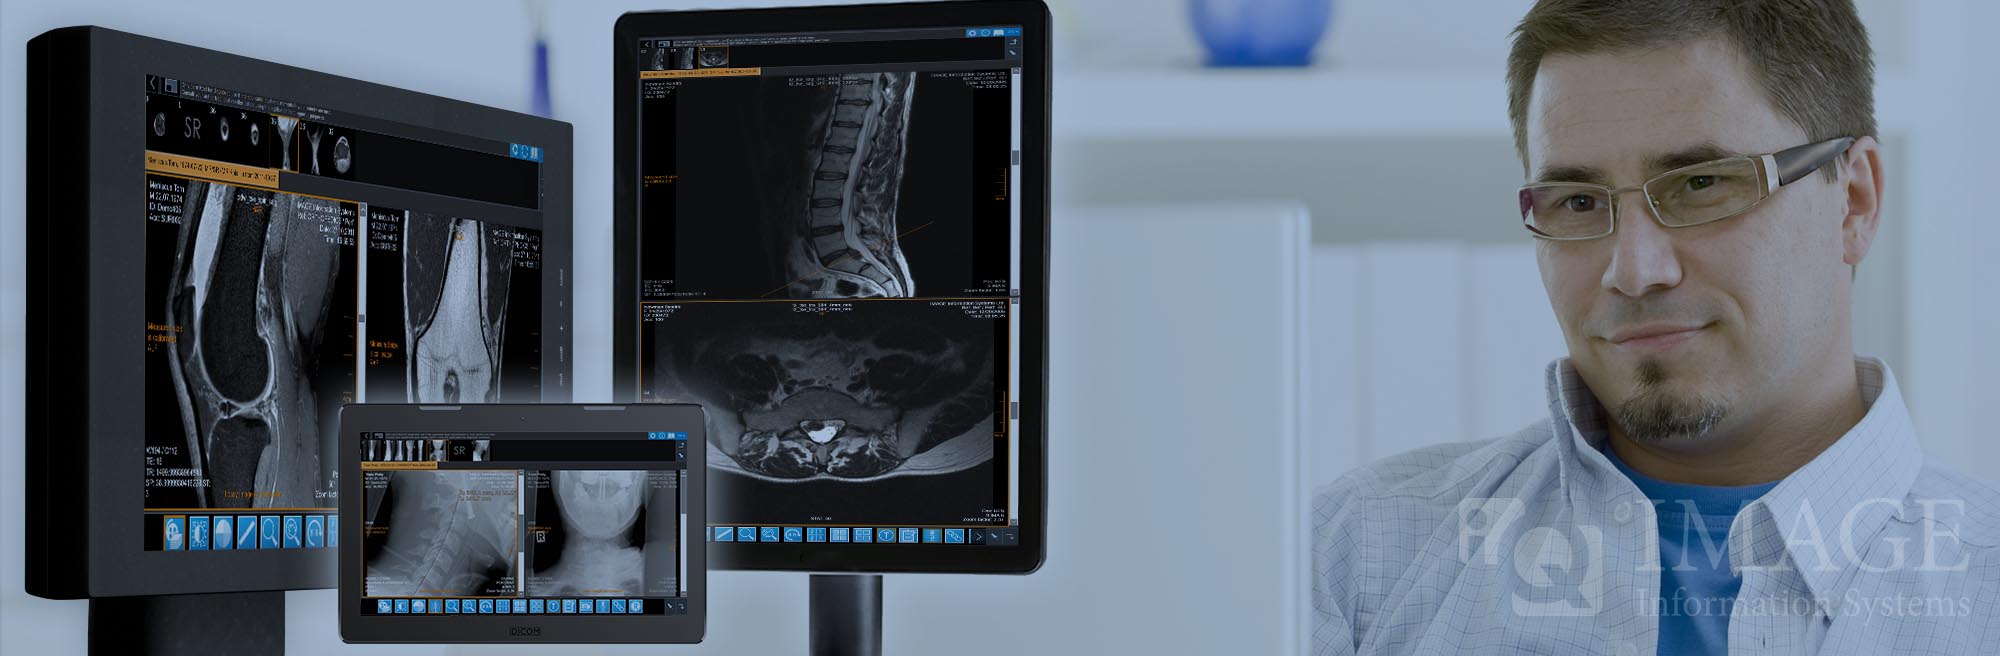
iQ-4CLOUD
Enjoy 24/7 medical imaging with this cloud-based PACS-on-demand solution. Especially small and mid-sized healthcare institutions can access and share medical images efficiently and securely without caring about IT maintenance costs.
Learn more.

Free Trials
At IMAGE you do not need to buy a pig in a poke. All our software solutions can be tested beforehand for a period of 4 weeks. Most trial versions are available for immediate download to get started straight away. Try our Download Center.
Stay informed with our social media channels


>
10000
installation sites
>
120
countries
~
50
mio. customer studies per year
20
years in market